Packaging blog
How to Choose Retail Packaging for a New Product
A practical order of decisions for choosing retail packaging, from measuring the product to picking a print method that suits your first production run.
Most first-time packaging decisions get made backwards. A brand picks a look, finds a box that roughly fits, and then discovers at the packing bench that the product rattles, the barcode falls across a fold, or the shipping cost doubled because the carton is two inches too tall.
The order matters. Get the physical constraints settled first, then material, then print, then finish. Design comes last, not because it matters least, but because the design has to sit on a structure that already works.
Start with the product, not the packaging
Measure the product at its widest point in all three dimensions, then weigh it. Both numbers do real work later. Dimensions set the dieline. Weight sets the board grade.
Measure the product as it will actually be packed. A folded garment expands when it relaxes, so measure the folded stack under light compression rather than pressed flat. A candle in a glass jar has a lip wider than its base. A bottle with a pump dispenser is taller with the pump fitted than the bottle spec sheet suggests.
Write down a fourth number too: how fragile the product is. Glass, ceramics and anything with a screen need internal support. A cotton t-shirt does not. That single judgement decides whether you are budgeting for an insert.
Decide where the packaging has to survive
Packaging fails in transit far more often than it fails on a shelf. Before choosing anything, be clear about the journey.
A pack that travels from your bench to a local market only needs to look right. A pack going through a national carrier network gets dropped, stacked under heavier cartons, and sometimes left in a hot van for a day. Those are different engineering problems, and a brand that specifies for the shelf and ships through a carrier finds out the difference through damage claims.
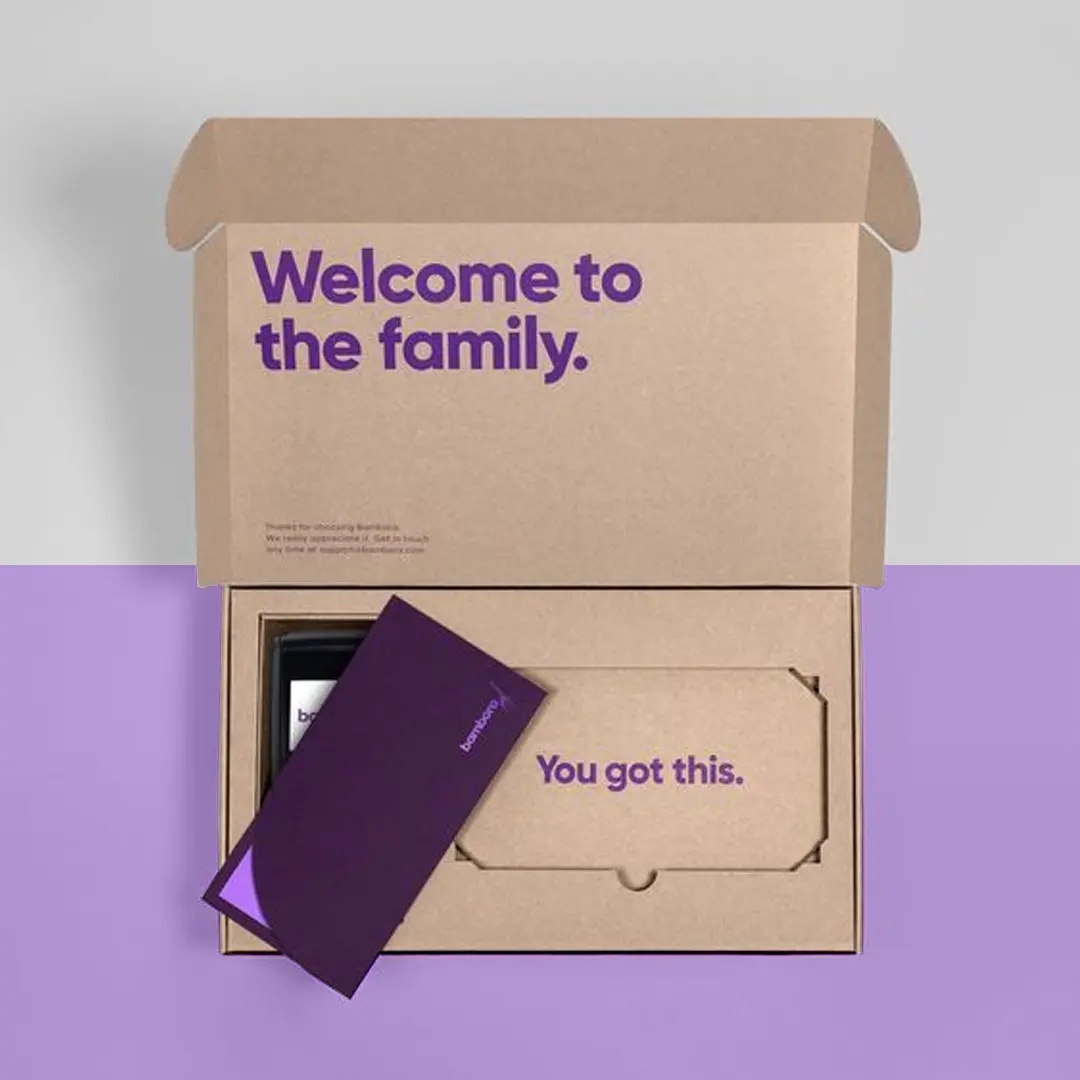
If you are shipping direct to consumers, the outer pack is also the first thing your customer sees. That dual role is why brands shipping fragile goods often specify custom mailer boxes with interior printing rather than plain corrugated with a sticker.
Choose the format before the material
Format is the structural type: folding carton, rigid box, corrugated mailer, pouch, bag, tray. Each one is manufactured differently and each one has a natural range.
Folding cartons suit light retail products under about three pounds and ship flat, which keeps freight cheap. Rigid boxes feel substantially more expensive in the hand and are assembled by hand, which is why they cost more and take longer. Corrugated handles weight and stacking. Pouches take almost no freight volume and protect against moisture and oxygen, but they cannot stand a heavy product upright without a gusset.
Picking the format wrong is expensive to correct because the structural die is cut for the format, not just the size.
Match material to weight and journey
Once the format is fixed, the material question becomes narrow and answerable.
For folding cartons, 12pt board handles light items like cosmetics and confectionery. 16pt to 18pt is where you go for anything with real weight or a product that will be picked up repeatedly in store. For corrugated, E-flute is thin and prints well, B-flute takes more abuse, and BC double-wall is what you specify past roughly twenty pounds of contents.
Kraft and white board are not just a colour choice. Uncoated kraft absorbs moisture, which matters in a humid warehouse, and it takes ink differently — colours print warmer and less saturated than on a white coated stock. If your brand depends on a precise colour, uncoated kraft will fight you.
Pick a print method based on run length
This is the decision that most often gets made on aesthetics when it should be made on arithmetic.
Digital printing has no plate cost. That makes it the obvious choice for short runs, prototypes, seasonal variants and any launch where you are not yet sure how much you will sell. Below roughly a thousand units it is almost always cheaper, and it turns around faster.
Offset lithography and flexography carry a setup cost for plates, but the per-unit price falls sharply once that cost is spread across a large run. Somewhere between one thousand and three thousand units, depending on the format and the number of colours, they overtake digital. Our comparison of packaging printing methods and their break-even points sets out where each one stops making sense.
Leave room for what the law requires
Regulated panel content eats more space than brands expect, and it cannot be shrunk to fit.
Food products need ingredient lists, allergen declarations and net weight. Cosmetics need an INCI ingredient panel. Supplements need a supplement facts panel with a prescribed format. Cannabis and CBD products need state-specific warnings that vary by where you sell. Products sold in California may need a Proposition 65 warning.
Lay out the back panel before you finalise the carton size, not after. A design that looks balanced with a placeholder block of text often falls apart when the real ingredient list turns out to be forty percent longer.
Work out what the finish is actually for
Finishing is where budgets quietly disappear. Each option adds a production step and a cost, so it is worth being clear about what each one buys you.
- Matte lamination resists fingerprints and scuffing, which matters for packs handled repeatedly in store
- Gloss lamination lifts colour saturation and is more durable against moisture
- Soft-touch lamination changes how the pack feels in the hand, which is the point of it
- Spot UV creates contrast against a matte background and is wasted on a gloss one
- Foil stamping carries a die cost and works best on small, bold marks rather than fine detail
- Embossing adds physical texture and needs artwork designed for it from the start
A pack does not need four of these. One well-chosen finish usually reads as more considered than three competing ones.
Order a sample before you order the run
A plain unprinted structural sample costs very little and answers the only question that really matters at this stage: does the product fit, and does the pack close properly with the product inside?
Put the actual product in the actual sample. Close it. Pick it up. Shake it gently. If it rattles, you need an insert. If the lid strains, the dieline is too tight. If it feels flimsy with the product inside, step up the board grade.
A printed prototype answers a different question — whether the colour and finish look right. That costs more and is worth it if colour accuracy is critical to your brand.
A working sequence
Here is the order that avoids the most rework.
- Measure the product in three dimensions and weigh it
- Decide how it will travel and how fragile it is
- Choose the structural format that suits both
- Specify the material grade against the weight
- Confirm the regulated panel content and lay out the back panel
- Pick a print method based on your realistic first run quantity
- Choose one finish that does a job, not three that compete
- Order a plain structural sample and test it with the real product
- Approve a printed proof
- Run production
What to send a packaging supplier
When you ask for a quote, the information that produces an accurate price is short and specific: product dimensions, product weight, the quantity you want, your deadline, and where it ships to. If you already know your material or finish preference, say so. If you do not, say that too — it is genuinely more useful than a guess.
Brands packing delicate items should also mention it upfront, because a fitted packaging insert cut to the product profile changes both the quote and the outer dimensions.
Everything else — artwork, dielines, proofs — comes after the specification is agreed. Trying to design before the structure is settled is the most common way a packaging project loses a month.